How to Pass an Air Tightness Test for Building Control Signoff
With the tightening of Building Regulations Part L later this year, it is now mandatory that air tightness testing is carried out to all new flats, houses and commercial buildings. Previously, it was possible to undertake testing to a just a sample of the units; however, this wasn’t deemed accurate and so the new regulations have been enforced. Another change to the building regulations Part L is the lowering of the maximum air leakage rate from 10m3/h. to 8m3/h, although it likely that you will need to achieve a much lower figure than this to comply with your deign state SAP Assessment.

So accounting for the more stringent air tightness testing requirements, it is imperative that careful quality control is maintained at all times during the construction process, as this is the only way to ensure success of creating an airtight building and passing the air tightness testing at the first attempt avoiding costly remedial works and delays to the project handover.
It’s worth remembering that with prefabricated buildings, an element of quality control is done in the factory by people who do know and build to an exacting standard within controlled factory conditions; however, on building sites there can be huge variables in regard to the quality of build, due to the quality of design, the fixing operatives and materials.
For Air tightness Consideration must be given to the following areas
There are literally hundreds of areas that need to be considered when creating an airtight building; however, the main are:
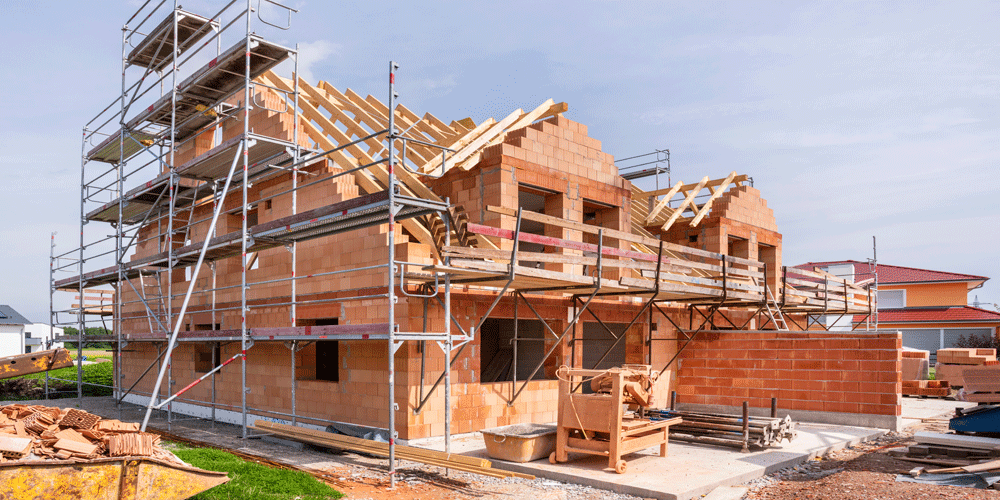
- The building fabric: the building fabric accounts for the walls, floor and roof. The type of build will dictate the amount of extra ‘onsite’ sealing works that may be required. For instance, it’s usually easier building with timber frame, than with masonry.
- Wall/floor/ceiling junctions: It is usually the wall/floor junction around skirting boards, and the wall/roof junctions by the eaves where the problems are usually worst.
- Doors and windows: doors and windows are often some of the worst areas of air leakage within a building fabric. Where the frame meets the wall reveal, is usually down to site detailing, but how the window or door closes against the frame is down to the window/door manufacturer and their installers. Sash windows or sliding patio doors can be susceptible to air leakage even if they are working properly. Twisted frames, missing seals and poorly (loosely) adjusted latches, are just a few issues that we find during smoke testing.
- M&E Service penetrations: service penetrations through the building envelope to allow for cables, pipes and ductwork are also a main area of air leakage. They’re not difficult to deal with if tackled at the right juncture i.e., before kitchen units are installed, and it is largely a matter of site supervision that they found and dealt with by a dedicated sealing team of an air tightness champion.
- Internal pocket doors – internal pocket doors, such as the type installed between living/dining rooms and bathrooms, can be a massive area of air leakage, so it’s really important that the builder builds an airtight pocket (sleeve) for the door prior to installing the running gear for the doors, and finally boxing out.
- Recessed ceiling lights – recessed ceiling lights in kitchens/living rooms etc. can also be large area of air leakage. In some large living areas, we have counted over 100 ceiling lights, with each light leaking the accumulated air loss can be huge. Many manufacturers provide airtight (fireproof) socks that go over the light housing (within the ceiling void) which can be an effective solution.
- Ceiling hatches – ceiling hatches, can also leak large amounts of air. Some manufactures offer proprietary door and frame systems, which are easier to install and will further reduce air leakage.
- Loft cupboards – the areas behind loft cupboards doors are often unsealed, sometimes there isn’t even flooring installed. it is essential that the walls ceiling and floors are completely finished, and the cupboard door are fully sealed with good quality seals.

Can I lower my energy bills with an air tight home?
Yes, it’s known that airtightness improves thermal efficiency and reduces heating costs in buildings. As a rule of thumb, if you lower your airtightness from 10m³/hr to 5m³/hr it will reduce your energy demand and heating costs cost by approx. 30-40%. With heating bills expected to hit around £2000 per year, that’s around a £700 annually, which is a huge saving, especially when you consider a dwelling air test is only £250!
At the start of your design and build process, your architect should be specifying what needs to be done in regard to air tightness, and the importance of having an air tightness champion on site to reduce the chance of an air tightness test failure.
We have put together our informative air tightness checklist – which should provide builders with helpful information on how to prepare dwellings for the air tightness test. often the best step is to ensure the contractor uses a project manager that has built at least one airtight house or building to a robust air tightness standard, and therefore has the knowledge and experience to manage and provide an air-tight building to achieve a precompletion air tightness test at the end of the project.
We can help you pass your air tightness test
By working with our customers throughout their design and construction stages, we can provide advice and guidance on the most feasible ways to avoid air leakage and pass your air tightness test.
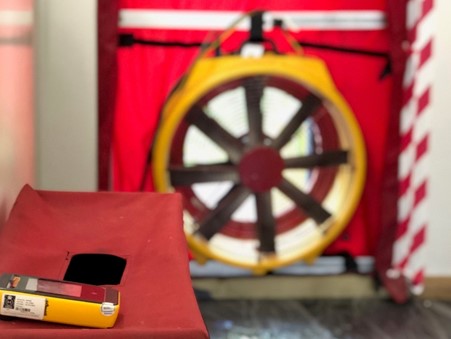
At APT Sound Testing, we are happy to provide you with general air leakage design advice for your building envelope and onsite guidance. Upon completion of your project, we provide Nationwide UKAS Accredited Tightness Testing for domestic and commercial buildings to help you demonstrate Building Regulation Part L Compliance.
To find out more about our air tightness testing service or if you wish to discuss your project, please contact us by email at info@aptoundtesting.co.uk or visit our website.